How to Get Photo-Ready Brows
Are your brows in need of a little refresh? If you’re looking to just clean your brows up a bit or reshape them for a full brow-makeover, here’s a little step-by-step guide on how to get a photo-ready set of brows.
Leave the Brow Shaping to the Professionals
Here at Sugarlillies, we take brows very seriously. We decided that every brow is different so there isn’t a one-size-fits-all brow solution and for that reason, we decided on a “triple brow threat”. Sugarlillies specializes in threading, tweezing and of course, sugaring! We are dedicated to shaping your brows using your preferred method and what’s best for you.
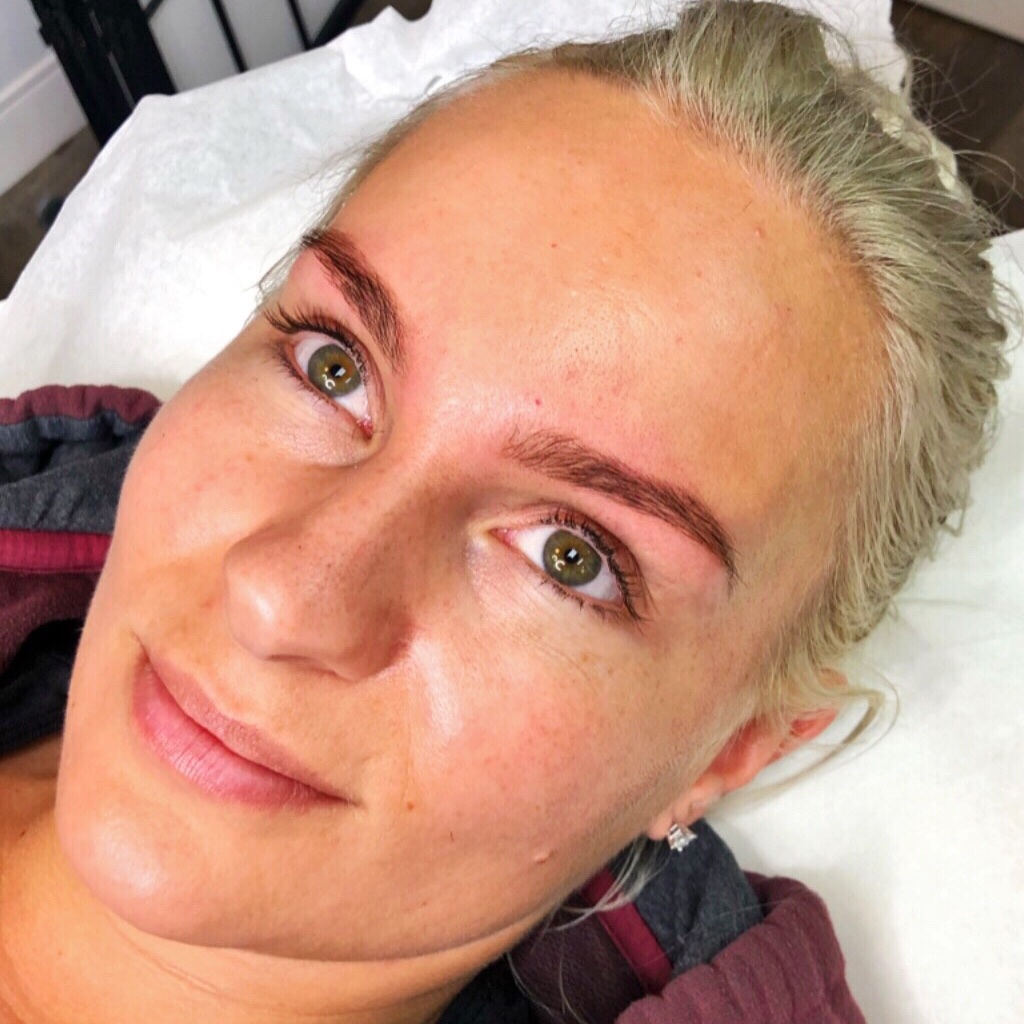
Once we decide on the perfect shape for you and your face shape, we will tweeze, sugar or thread your brows to leave you with a sculpted, yet effortless set of brows. Now that your brow shape is ready to go, I will then use a brow pencil to fill in your brows, a tinted brow gel to make them pop and a highlighter to clean them up and define the edges.
We also offer henna brows, which is a natural dye that leaves a tint on your skin for up to two weeks, leaving your brows looking fuller and filled-in. Learn more about it here!
DIY Steps:
You got your brows shaped by a professional, now you have to maintain them yourself and use brow products to keep them looking fresh between appointments!
Step 1: Fill-In Your Brows
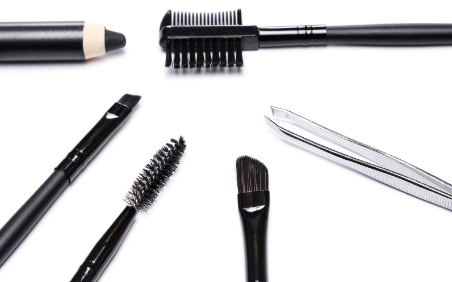
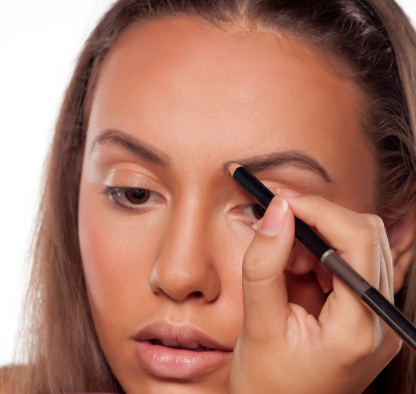
Filling your brows in is where the magic really happens and your brow vision comes to life. Whether you prefer a brow pencil, a pomade, or powder, filling in your brows enhances the shape and makes them pop!
Light-handedly, draw hair-like strokes to fill them in. Lightly shade at the front of the brow and go increasingly darker until you get to the end of the brow for an ombré effect. Avoid using harsh lines because it will make the brows look unrealistic and may look like they’ve been drawn on.
Step 2: Lock Your Brows In Place
Now you just need to lock your new, fresh brows in place with a little brow gel. If you’re happy with your brows natural color, go for a clear gel, but if you would like a little color boost, go for a tinted gel.
Not sure what color brow gel is right for you? Base it off of your hair color and your hair’s undertone. For instance, if you have cool blonde hair, go for an ashy or taupe gel, but if you have deep caramel brown hair, go for more of a warm, medium brown shade. Another helpful tip is if you have blonde hair, use a brow gel that’s a shade or two darker than your hair and if you’re brunette, use a gel that’s one or two shades lighter than your hair color.
Step 3: Highlight
If you really want to highlight your brows, apply a light shade of brow highlighter, concealer or eyeshadow along the underneath the brow line to sharpen the edges and clean up any mistakes you made while filling them in. You can use a small brush to sculpt with concealer or simply buy a brow highlighter to quickly shade and highlight.
Step 4: Show Them Off
Okay, now go show off those brows!
